Custom screen printing could be a prevalent strategy for making personalized plans on different surfaces such as t-shirts, tote sacks, and blurbs. This DIY direct will walk you through the method of custom screen printing, from understanding the nuts and bolts to creating your claim plans and finishing your printed things. With many basic instruments and materials, you’ll make special and custom screen-printed things in no time.
Understanding the Basics of Screen Printing
Screen printing includes a working screen, ink, and a squeegee to press the ink through the screen onto the printing surface. Key to this preparation is the creation of a stencil on the screen. Which directs where ink ought to and ought not to pass through. The setup requires an outline to hold the screen input. Each color in a plan requires an isolated screen, making the method somewhat complex but profoundly flexible for different plans. The sort of ink utilized can change depending on the printed substrate. With a few inks suited for texture and others for more inflexible materials. This foundational information is pivotal for setting out custom screen printing ventures. Guaranteeing a clear understanding of the components and their parts within the handle.
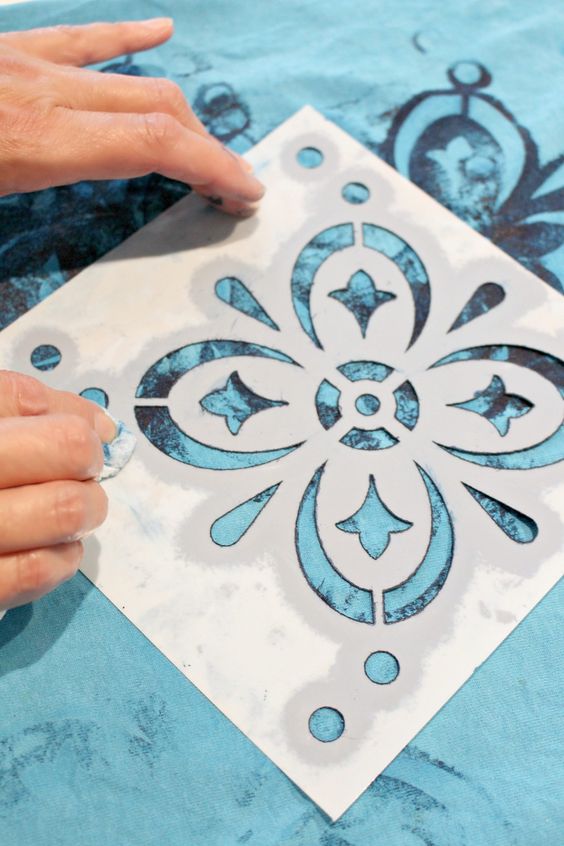
Creating Your Screen Printing Design
To kick off your custom screen printing journey, the first step is crafting a design that captures your vision. This design can be anything from a simple logo to an intricate piece of artwork. If drawing by hand, ensure your lines are clear and bold for easier transfer. For those who prefer digital creation, software like Adobe Illustrator can be used to achieve precise designs. After finalizing your design, it’s time to transfer it onto transparent film. This film will act as your stencil in the screen printing process, so accuracy here is key. Remember, the quality of your initial design directly influences the outcome of your screen-printed items, setting the tone for your entire project.
Preparing Your Screen and Workspace
To initiate the screen preparation, begin by evenly applying a light-sensitive emulsion across. The surface of your screen ensures complete coverage for an accurate stencil creation. This coated screen should then be left to dry thoroughly in a dark, undisturbed space to prevent premature exposure. Following the drying period, position your transparent film, bearing the desired design, atop the screen. This setup is then exposed to a strong light source.
Solidifying the emulsion around the design and leaving a clear area where the ink will penetrate during printing. Equally crucial is the arrangement of your printing environment. Organize a clean, well-lit area with a flat surface conducive to smooth printing operations. This preparation stage is pivotal, setting the groundwork for successful screen printing. Endeavor by ensuring your screen is meticulously crafted and your workspace is optimally configured for the tasks ahead.
The Screen Printing Process
Place your chosen material flat beneath the prepared screen, carefully aligning it for accurate design placement. Pour a generous amount of ink along one edge of the screen above your design. Holding the squeegee at a 45-degree angle, firmly drag the ink across the entire stencil, ensuring even pressure throughout. This action forces the ink through the open areas of the stencil onto the material below. Lift the screen gently to reveal the transferred design. For multi-colored designs, allow the first color to dry before applying additional layers with separate screens. Each application requires a clean squeegee stroke to maintain clarity and prevent smudging. This methodical approach allows for the precise reproduction of your design on the printing surface.
Curing and Finishing Your Screen Printed Items
After your screen printing venture is complete, the ultimate step is to remedy the ink on your printed things. This handle cements the ink, making your plan tough and wash-resistant. The strategy of curing will depend on the sort of ink you’ve chosen. For plastisol ink, a warm press or a transport dryer is ordinarily utilized. Requiring temperatures of around 320°F for a full remedy. Water-based and release inks, on the other hand, may essentially require drying.
Or can be cured with a warm weapon or family press, even though temperatures and times can shift. Guarantee you take after the particular curing instructions for your ink to attain the most excellent comes about. This cautious consideration of the curing preparation is pivotal for the life span and quality of your screen-printed things. Guaranteeing that your plans stay dynamic and intaglio through wear and washing.
Cleaning Up and Maintaining Your Equipment
Quickly after completing your screen printing venture, start the cleanup handle to protect the quality of your instruments. Flush your screen beneath tepid water to expel any waiting ink, utilizing a delicate brush or wipe for resolved ranges in case vital. For the squeegee and any other utensils utilized. A careful wash with a mellow cleanser will expel ink buildups, guaranteeing they stay viable for future ventures. It’s pivotal to dry these apparatuses totally before putting them away to avoid shape or distortion. Screens ought to be kept in a region that is dry and absent. From coordinated daylight to maintain a strategic distance from emulsion debasement. Normal upkeep not as it were expands the life expectancy of your screen printing gear but moreover ensures reliable quality in your printing endeavors.
Conclusion
Embarking on the journey of custom screen printing opens up a world of creative possibilities. This guide has equipped you with the knowledge. And steps needed to start producing your very own screen-printed items, from unique t-shirts to custom tote bags and beyond. Remember, the beauty of screen printing lies in the personal touch you bring to each project. Transforming ordinary objects into bespoke treasures. As you refine your technique and experiment with designs. Your skill set will expand, allowing for even more intricate and professional-looking creations. Dive into the world of screen printing with enthusiasm and let your imagination lead the way. Your next masterpiece is just a squeegee stroke away.